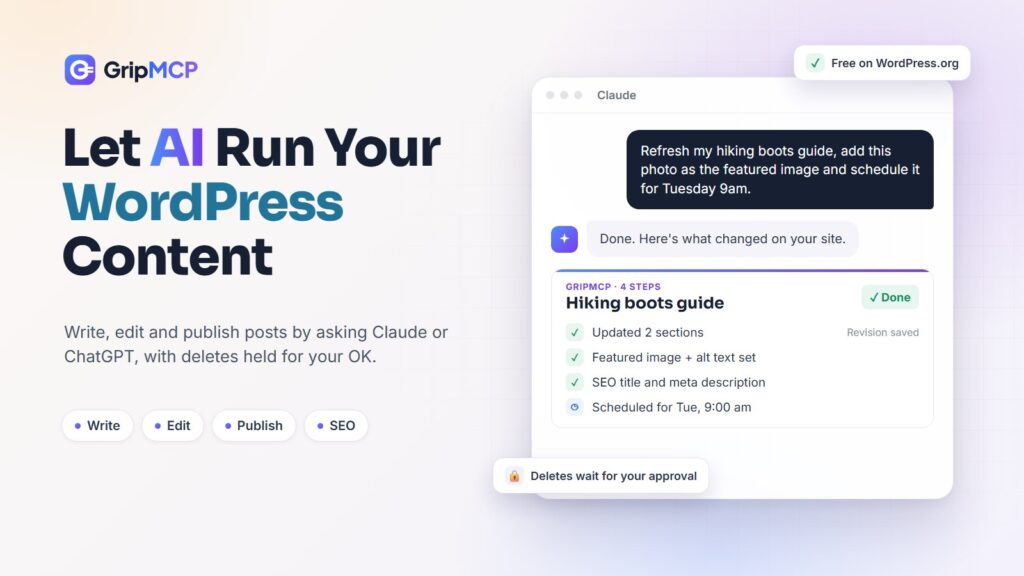
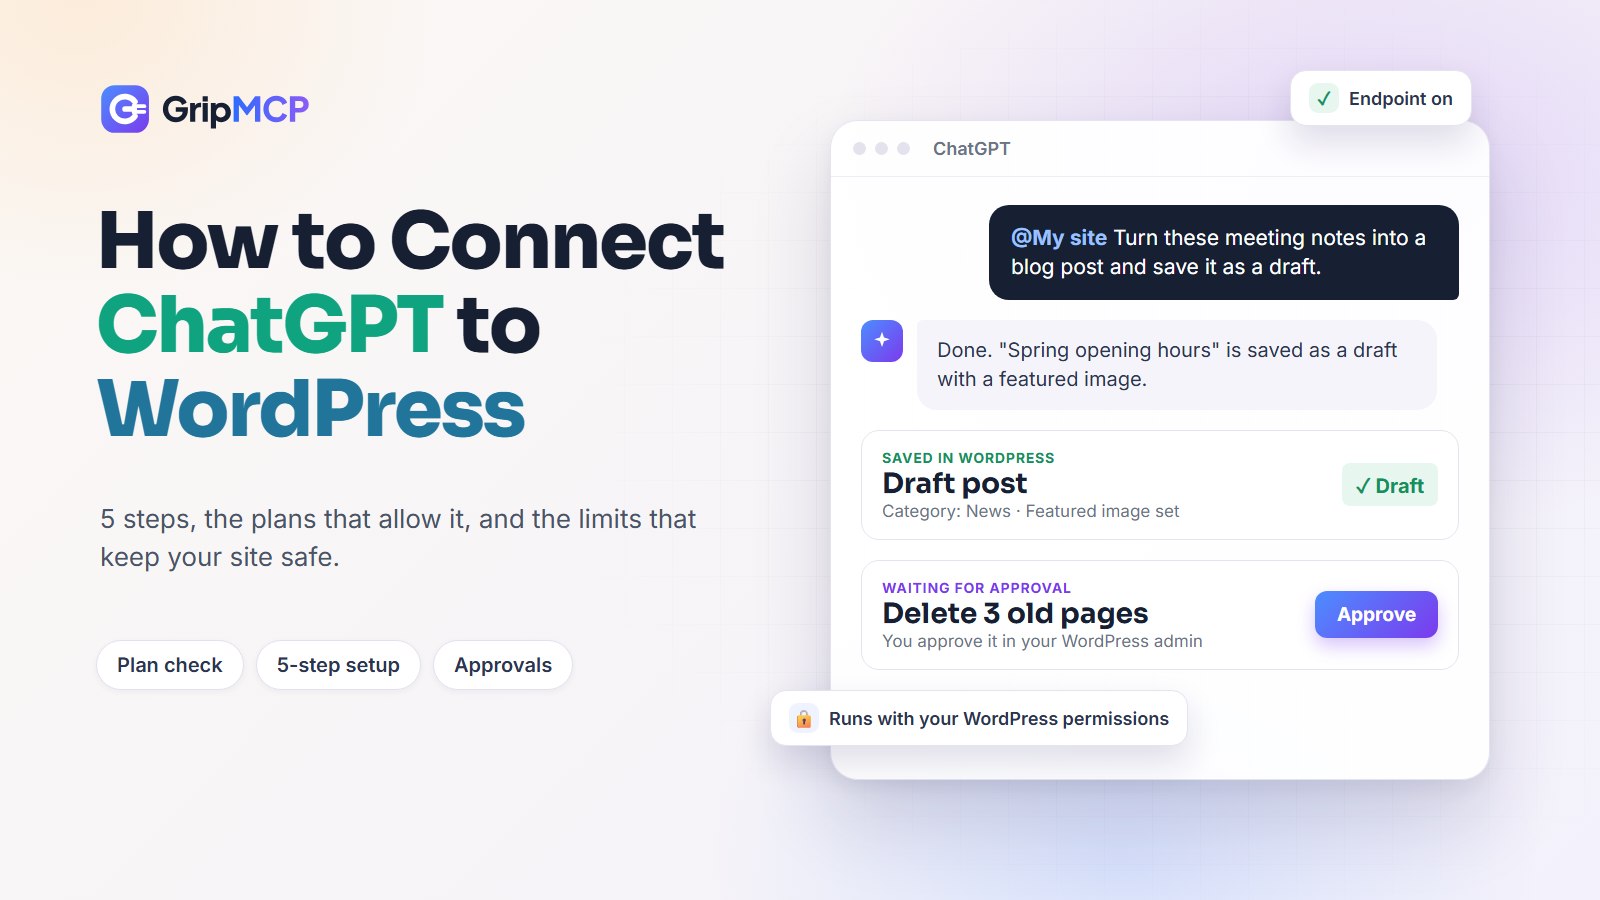
Most people use ChatGPT and WordPress side by side. You write something in one tab, paste it into the other, then fix the headings, upload the image and pick a category by hand. Connecting the two cuts out that shuffle: ChatGPT saves the draft, sets the featured image and files the post itself.
There’s a question most guides skip, though, and it’s the one to ask first: once ChatGPT is inside your site, what is it allowed to touch? This guide answers both. You’ll connect ChatGPT to WordPress in 5 steps and end up with an assistant that works inside your site, with limits you set.
3 things people mean by “connect ChatGPT to WordPress”
Search for this and you’ll find 3 different setups mixed together. It helps to know which one you’re after.
- A chatbot for your visitors. A plugin adds a chat box to your site that answers customer questions using OpenAI’s models. It talks to your visitors, not to you, and it can’t manage the site.
- An AI writer inside the editor. You paste an OpenAI API key into a plugin and generate text in the block editor. You pay OpenAI for that API use, separately from any ChatGPT subscription.
- ChatGPT working on your site from the chat. Your site gets an MCP address, and ChatGPT uses it like a toolbox. You ask in the ChatGPT window and the work happens in WordPress. This is the setup this guide covers.
What MCP is, in one paragraph
MCP (Model Context Protocol) is an open standard that lets AI assistants use outside tools. A plugin such as GripMCP turns your WordPress site into an MCP server. ChatGPT connects to its address, signs in as a WordPress user you approve, and gets a list of actions it can take, such as “create a draft post” or “list comments waiting for moderation”. It can only use the actions on that list, and only with that user’s permissions.
Check your ChatGPT plan first
This is where most setups stall, so check it before you install anything. ChatGPT, not WordPress, decides which accounts can add a custom MCP server. Here’s what OpenAI’s help page said when we checked in November 2026:
| ChatGPT plan | Can you add your site? | What ChatGPT can do there |
|---|---|---|
| Business | Yes, if you’re a workspace admin or owner | Read your site and make changes |
| Enterprise and Edu | Yes, for admins and members they allow | Read your site and make changes |
| Pro | Yes | Read only: it can look things up, but not change them |
| Other plans | Not listed by OpenAI | Open Plugins in ChatGPT and look for “Add custom MCP server” |
- Set it up in a browser. Custom servers are added at chatgpt.com on the web, not in the mobile apps.
- On a work account? On Business, only admins and owners can add a server. On Enterprise or Edu, an admin can give you permission.
- Labels move around. OpenAI renames these menus from time to time. If a label below doesn’t match, look for the same words nearby.
If your ChatGPT plan doesn’t include custom servers yet, the same site address also works in Claude. Here’s how to connect Claude to WordPress.
What your WordPress site needs
- WordPress 6.2 or later and PHP 7.4 or later.
- HTTPS. GripMCP requires it, and ChatGPT only connects to public HTTPS addresses.
- A site at the root of its domain, such as
example.comrather thanexample.com/blog. ChatGPT connects through the standard MCP sign-in, and that sign-in needs a root address. - An administrator account to install the plugin and switch it on.
Step 1: Install GripMCP
GripMCP is free on WordPress.org. In wp-admin, go to Plugins → Add New Plugin, search for GripMCP, then click Install Now and Activate.
Step 2: Switch the endpoint on and copy your address
Open GripMCP in the admin menu. The endpoint starts switched off, so nothing can connect until you allow it. Turn it on with the switch at the top right, then copy the address shown on the Setup tab. On most sites it looks like this:
https://your-site.com/mcpIf your site uses “Plain” permalinks, the Setup tab shows a longer address instead. It works the same, so copy whichever one you see.
Step 3: Add your site to ChatGPT
- Go to chatgpt.com on a computer and open Plugins.
- Select the + button, then Add custom MCP server.
- Give it a name you’ll recognise, such as your site’s name. The description is optional.
- Under Connection, paste your address into Server URL.
- For authentication, choose OAuth. You don’t need a client ID or secret, because GripMCP lets ChatGPT register itself.
- Read the risk warning, tick I understand and want to continue, and select Create as a plugin.
Step 4: Sign in to WordPress and approve
When ChatGPT asks you to authorise, it opens your own WordPress login page. Sign in with the account ChatGPT should work as, and approve the connection. ChatGPT then lists the actions your site offers. Look over the list and install the plugin.
Which account should you sign in with? ChatGPT gets exactly that user’s permissions. If you mostly want help with posts and pages, an Editor account is enough, and an Editor can’t install plugins, manage users or change settings. Administrators can always connect. To connect as an Editor, first tick that role under GripMCP → Permissions → Who can connect.
Step 5: Use your site in a chat
Start a new chat, type @, pick your site from the list, and ask. The @ applies to that one message, so mention your site again when a later request needs ChatGPT to fetch or change something new.
ChatGPT may ask you to confirm before it changes anything. Read what it’s about to send before you approve, the same way you’d read an email before hitting send.
Good first things to ask
Start with requests that only look around. They work with read-only access too, and they show you how ChatGPT sees your site:
- “List my drafts and tell me which ones haven’t been touched in 3 months.”
- “Run a site health check and explain anything marked critical in plain English.”
- “Check the PHP error log. What’s behind the warnings on the contact page?”
- “Which comments are waiting for moderation?”
When you’re happy with that, move on to changes:
- “Turn these meeting notes into a blog post and save it as a draft.”
- “Upload the image at this link and set it as the featured image on the About page.”
- “Add our new Careers page to the main menu, right after About.”
- “Approve the genuine comments in the queue and mark the rest as spam.”
- “We have both a News and an Updates category. Move everything into News.”
2 sets of brakes
ChatGPT has its own safety net: it shows a warning when you add a custom server and can ask before it changes anything. GripMCP adds a second set of limits on the WordPress side, and those hold no matter what is typed in the chat.
- Your permissions, nothing more. Every request runs as the WordPress user who connected. If that person couldn’t do it in wp-admin, ChatGPT can’t either.
- Deletes wait for you. On a new install, deleting content, refunds and changes to who has admin access are set to Ask me first. Each one waits for your approval on a page in your own WordPress admin, and an assistant can’t approve its own request.
- It warns you about side effects. Before a delete goes up for approval, GripMCP checks what it would break, such as your homepage, a page in a menu or the image used as your logo, and shows you what it found.
- No code through the chat. A change that would add a script, an embedded frame or similar code to a post is refused, even for an administrator.
- A full record. An activity log records every action, and WordPress revisions let you roll a post back.
- An off switch. Turn the endpoint off in GripMCP and nothing can connect until you turn it back on.
If ChatGPT won’t connect
- No “Add custom MCP server” option. Your plan or workspace doesn’t allow custom servers. See the plan table above, or ask your workspace admin.
- ChatGPT can’t reach the server. Check that the endpoint is switched on and that the address starts with
https://and matches the Setup tab exactly. - The WordPress sign-in never appears. The sign-in uses addresses under
/.well-known/. If a security plugin or firewall blocks them, allow them. - Your host drops the Authorization header. Some hosts do. The Setup tab warns you when it happens, and the docs show the fix.
- Still stuck? Go to GripMCP → Activity → Connection diagnostics. It lists every refused request and the reason.
- ChatGPT says it can’t do something. Look under GripMCP → Permissions first. Some capabilities stay off until you switch them on. If you changed plans or updated the plugin, refresh the plugin in ChatGPT’s settings so it loads the new list of actions.
Questions people ask
Do I need an OpenAI API key?
No. ChatGPT connects with your normal ChatGPT account. GripMCP doesn’t add an API bill or per-message fees.
Is GripMCP free?
The plugin on WordPress.org is free and covers everyday site work: posts and pages, media, menus, comments, revisions, approvals and site health. Paid plans add plugin and theme management, WooCommerce, page builders such as Elementor, WPBakery and Divi, WP-CLI, and tools for agencies running many sites.
Can ChatGPT run my WooCommerce store too?
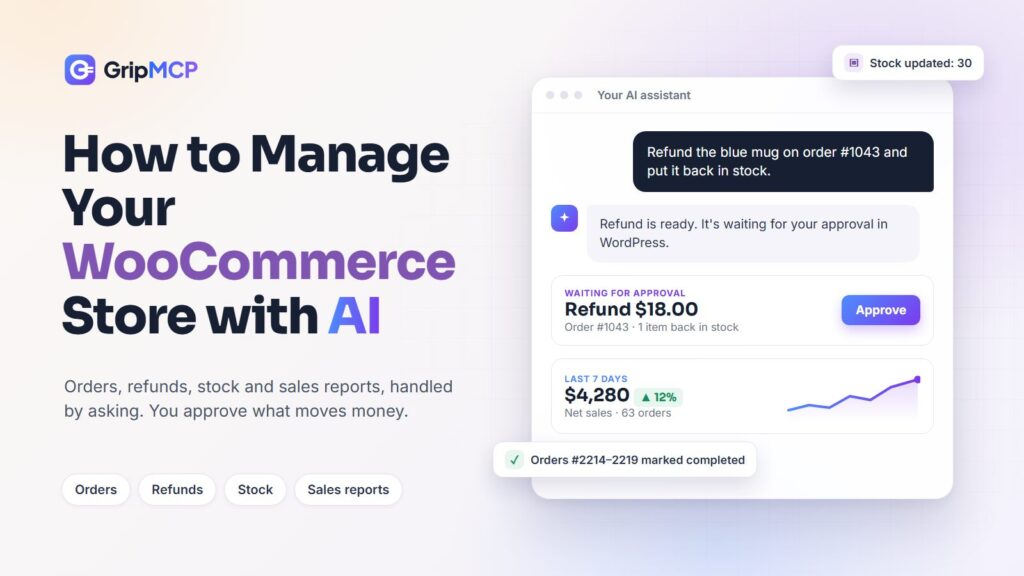
Yes, on the Operator plan and up. Orders, refunds, stock and sales reports all work, and refunds wait for your approval. Here’s how to manage a WooCommerce store with AI.
Is this the same as the WordPress.com app in ChatGPT?
No. WordPress.com’s app is for sites hosted on WordPress.com. GripMCP is for self-hosted WordPress sites, wherever they’re hosted.
Where to go next
Once ChatGPT is connected, give it one small, real job this week, such as clearing the comment queue or fixing an old draft, and see how it handles your site. When you want it to do more, see everything it can do on each plan, browse the docs, or get in touch if you get stuck.

Written by
Shalini T.
Part of the team behind GripMCP, the plugin that lets Claude and other AI assistants work on your WordPress site with your own permissions.